In this example we will show how to connect a RFID_RC522 module to an Arduino, the code example could be used as the basis of some sort of security/home automation system as the purpose of it is to check the ID of the card and depending on what is read a message will be displayed depending ona positive or negative result. In real life this could be used to open a lock.
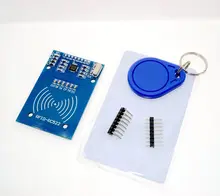
This is a typical module that you can buy quite easily

Iy usually comes with one contactless card and a key fob.
Pin Connection
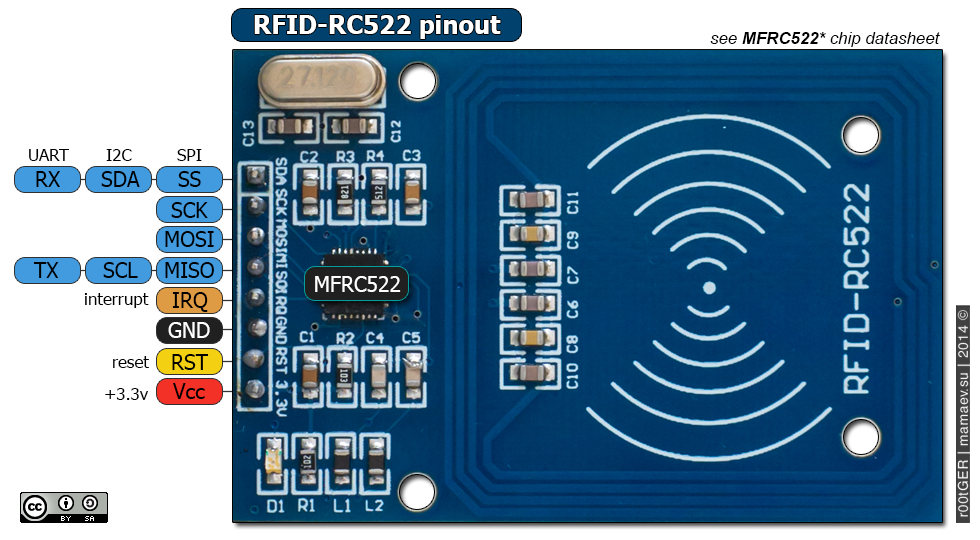
This is the pin connections from the module to your Arduino
| Module Pin | Arduino Uno |
| SDA | Digital 10 |
| SCK | Digital 13 |
| MOSI | Digital 11 |
| MISO | Digital 12 |
| IRQ | N/A |
| GND | GND |
| RST | Digital 9 |
| 3.3V | 3.3V |
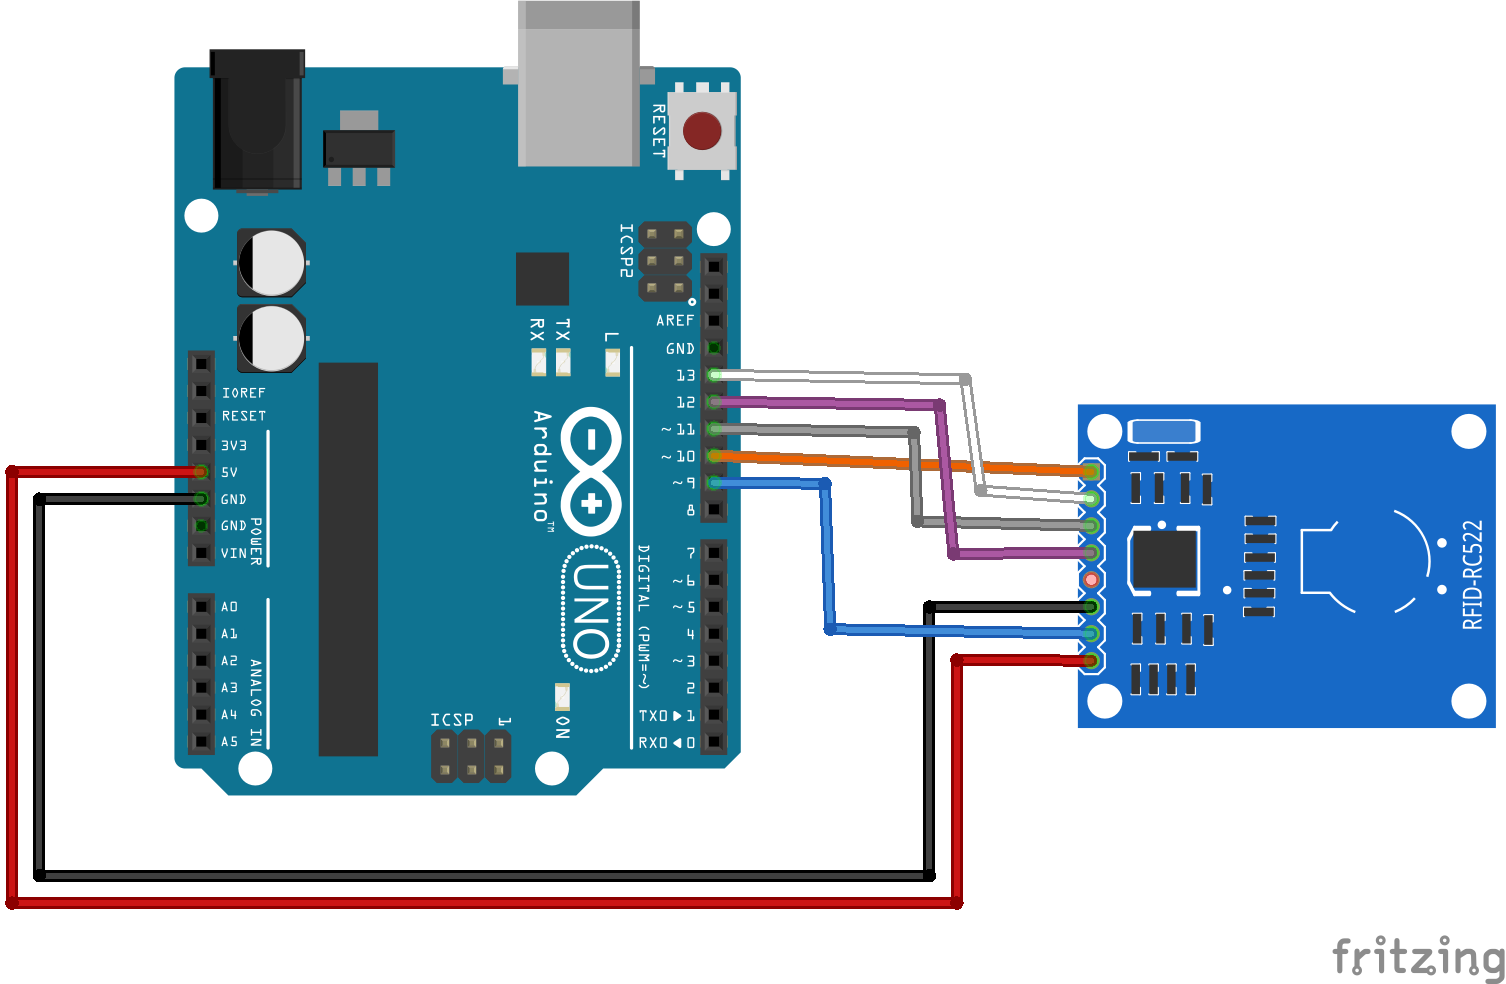
Schematic
This is a schematic showing this connection above

Code
This requires the following library – https://github.com/miguelbalboa/rfid
[codesyntax lang=”cpp”]
#include <SPI.h>
#include <MFRC522.h>

#define SS_PIN 10
#define RST_PIN 9
MFRC522 mfrc522(SS_PIN, RST_PIN);

void setup()
{
  Serial.begin(9600);
  SPI.begin();
  mfrc522.PCD_Init();
  Serial.println("Place your card on the reader.");
}

void loop()
{
  if ( ! mfrc522.PICC_IsNewCardPresent())
  {
    return;
  }
  if ( ! mfrc522.PICC_ReadCardSerial())
  {
    return;
  }

  //Show UID on serial monitor
  Serial.print("UID tag :");
  String content= "";
  byte letter;
  for (byte i = 0; i < mfrc522.uid.size; i++)
  {
     Serial.print(mfrc522.uid.uidByte[i] < 0x10 ? " 0" : " ");
     Serial.print(mfrc522.uid.uidByte[i], HEX);
     content.concat(String(mfrc522.uid.uidByte[i] < 0x10 ? " 0" : " "));
     content.concat(String(mfrc522.uid.uidByte[i], HEX));
  }
  Serial.println();
  Serial.print("Message : ");
  content.toUpperCase();
  if (content.substring(1) == "D5 04 C4 AF") //change here to the UID of the card you have
  {
    Serial.println("Authorized");
    Serial.println();
    delay(3000);
  }
  else
  {
    Serial.println("Access denied");
    delay(3000);
  }
}
[/codesyntax]
Links
You can pick up one of these for about $2
 Free Shipping RFID module RC522 Kits S50 13.56 Mhz 6cm With Tags SPI Write & Read for arduno uno 2560
